
Acclimating Tissue Culture
What is Tissue Culture?
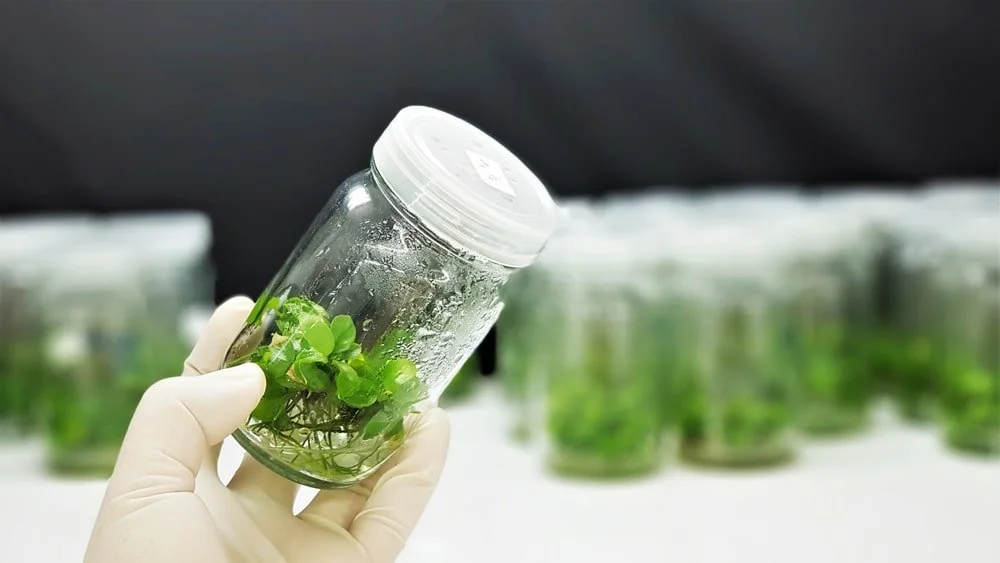
Tissue culture consists of taking a portion of a plant (e.g. the apex, a leaf or segment thereof, stem segment, meristem, embryo, node, seed, anther, etc.) and placing it in a sterile nutrient media (usually gelled, semi-solid) where one or many plants will regenerate.
Each order will receive a QR with the link to these instructions.
Step #1
It is important that when you receive your in vitro plant you first let it adapt to the weather/environment in which it will develop. We recommend that before starting the process you keep it for at least 48-72 hours in its bag/jar in the place where it will grow for the next few months.
Step #2
It is extremely important that before opening the container and removing the plant/s from it, you sterilize your work area. We recommend having on hand: paper towels, a pair of tweezers, paint brushes or a toothbrush (for the root cleaning process), alcohol, fungicide, rooting hormone, vitamin for transplanting, desired substrate for the process and 3 containers: one with distilled water to wash your seedlings, another with a mixture of distilled water and fungicide and the third with a mixture of water and transplant vitamin. Finally, also designate a place where you can maintain 100% humidity for the first 6 weeks.
Step #3
Remove your seedlings from their container using your previously sterilized tweezers, in your container with distilled water, carefully rinse the roots and submerge your plant to completely remove the agar in which they come, it is very important that you try to remove as much of it as possible since this can cause rot, we recommend using a brush or toothbrush to rinse roots for this process. (It is normal for some leaves or roots to fall, and you should not worry, it is also important to remove any dead roots or leaves).
Step #4
Once you have washed completely, the next step is to submerge your seedling/seedlings in your mixture of fungicide and distilled water (strictly follow the dilution instructions for each product). This process should last no more than 10 minutes since leaving it for longer can cause damage to the roots and plant in general. After removing the mixture, wash again in distilled water to remove any excess of the previous mixture.
Step #5
Once you have rinsed in the water and fungicide mixture, the next step is to submerge your seedling/s for another 10-15 minutes in distilled water and transplant vitamin, this process can be extended for up to 30 minutes if you wish.
Step #6
Once you have immersed it in water and transplant vitamin, it is recommended to let it air dry on top of a paper towel for approximately 5-10 minutes at room temperature to dry any excess moisture. It is important to observe the roots so that they do not dehydrate, this is just so that your seedling is not completely soaked before potting.
Step #7
This is one of the most important steps. Once you have waited for the excess moisture to dry, you must moisten the substrate to be used. We recommend sphagnum moss or stratum, but you can also use a coco/perlite mix. If your substrate of choice is sphagnum moss, remember to immerse/hydrate it for at least 3 hours before sowing in a mixture of water and rooting hormone. If you use any of the other substrates mentioned, plant your seedling in a container where the roots can fit (or in those provided in our growing kits). After potting, with your mixture of distilled water and rooting hormone, spray the substrate so that it is completely moistened but not waterlogged. Remember to maintain 100% ambient humidity for the first 6 weeks, since this is extremely important. Your seedling must receive enough light for its development, you can keep it in artificial growth light for periods of 12-16 hours a day or near a window with indirect light.
Step #8
This is the final step. In about 2-3 weeks you will see that your seedling is generating new roots, it is likely that you will see them through the pot/container, but this does not mean that your seedling is adapted to leave its high humidity environment. After 6 weeks, uncover the container for periods of 4 hours a day to gradually acclimatize your seedling. This process should last at least a week, after which it should be ready to grow in its new environment. Fertilize with 1/2 diluted ratio of the fertilizer to use, this to avoid possible damage or burns to the roots during the first 4 months, after that the care is the same as for any adult plant.
Good Luck! If you have any questions, send us a message so we can help you.
All images belong to Folia LLC®